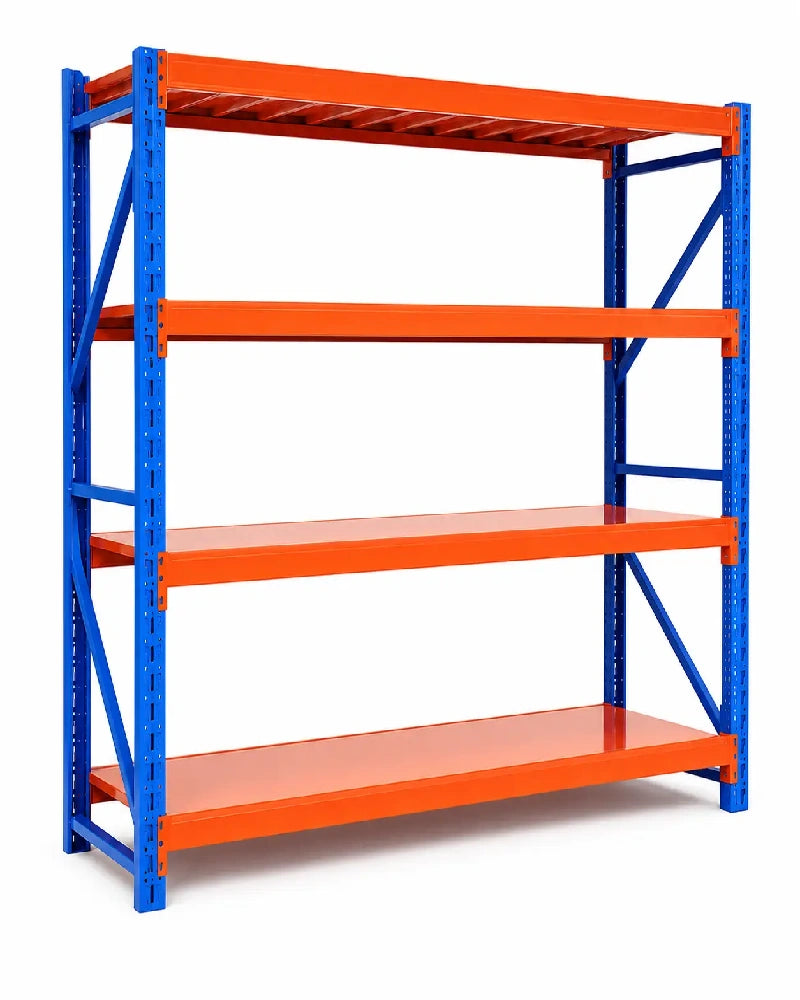


Measure garage wall width, shelf depth, ceiling height, vehicle clearance and obstacles with this step-by-step shelving checklist before comparing products.
A reliable shelf footprint also preserves walking space and normal access. Mark the proposed width and depth on the floor, then test the garage in everyday use instead of assuming every inch of empty wall should be filled.
What you need before you measure
- A tape measure with both millimetres and inches if possible
- A pencil, clipboard, or phone notes app
- Graph paper or a simple floor-plan sketch
- Painter's tape or removable masking tape
- The largest storage bin or item you expect to place on the shelves
- A second person for long measurements, when practical
Measure in the unit system you normally use. For an Australian project, record millimetres; for a US project, record inches. If you must convert, 1 inch equals 25.4 mm. Keep the original measurement as well as the conversion so rounding does not create a fit problem.
Step 1: Draw a simple garage floor plan
Start with the garage viewed from above. Draw the outside walls, vehicle position, main garage door, internal doors, windows, workbench, stairs, utility equipment, cabinets, and any area that must remain accessible. The sketch does not need to be architectural. Its purpose is to keep every measurement tied to a specific wall and location.
Label each possible shelving zone, such as “left side wall,” “rear wall,” or “front corner.” Do not combine separate wall sections if a door, window, column, or appliance interrupts them.
Step 2: Measure usable wall width
For each candidate zone, measure the horizontal distance available for the shelving. Take the measurement near the floor, around the middle, and near the intended top of the unit. Garages are not always perfectly square, and baseboards, wall framing, pipes, or a sloping floor can reduce usable width at one level.
Record the smallest of the three measurements as the starting maximum. Then subtract the space needed to access door handles, switches, outlets, utility equipment, and anything else beside the shelving. Do not cover an electrical panel, safety control, ventilation opening, or service point. If you are unsure how much access an item requires, check the applicable instructions or ask a qualified professional.
Step 3: Find the maximum usable shelf depth
Shelf depth affects parking and movement more than shelf width. Park the vehicle where it normally sits, with the garage door stationary. Measure from the wall to the nearest part of the parked vehicle, then repeat with the relevant vehicle doors open. Also account for mirrors, charging leads, bins, bicycles, and anything that moves through the same zone.
Next, decide how much clear space your household needs for walking, carrying boxes, opening doors, and reaching the shelves. There is no single clearance that suits every garage, vehicle, user, or local requirement. Your maximum shelf depth is the wall-to-obstruction distance minus the clear space you choose to preserve.
Use painter's tape to mark that depth on the floor. If the taped line feels intrusive during normal parking or access, reduce it before shopping.
Step 4: Measure vertical clearance
Measure from the floor to the lowest overhead obstruction in the proposed shelving zone. Check garage-door tracks, the open door position, motors, lights, pipes, ducting, ceiling storage, beams, windows, and wall-mounted equipment. Take the measurement at both ends of the proposed unit because floors and ceilings may vary.
Use the smaller height as your limit, then leave enough room to assemble, adjust, inspect, and safely access the top of the shelving. Do not plan a unit that touches moving door components or prevents access to equipment. Keep clear of moving garage-door parts while checking the space.
Step 5: Record every fixed obstacle
Measure the position and size of anything that breaks up the wall or floor area. A useful reference is the distance from the nearest corner to the obstacle, followed by the obstacle's width and height.

- Doors, windows, and their opening paths
- Outlets, switches, and charging equipment
- Electrical panels and utility shutoffs
- Pipes, taps, drains, and ventilation openings
- Steps, curbs, columns, and floor drains
- Garage-door tracks, springs, controls, and sensors
- Existing cabinets, workbenches, and wall storage
Do not assume a narrow object can simply sit behind the shelving. If it needs inspection, ventilation, operation, or emergency access, keep it reachable.
Step 6: Measure the items you plan to store
Garage shelving measurements should begin with the space, but the stored items determine the shelf configuration. Measure the width, depth, and height of your largest bins, tool cases, coolers, and equipment. Include lids, handles, wheels, and any overhang.
For each group, note how often it is used and whether it can be lifted safely to an upper level. Keep heavy or awkward items low, within the shelving manufacturer's instructions. Do not select a rack by overall size alone; later, compare the product's shelf spacing, included parts, and stated load information with what you actually store.
Step 7: Check the delivery and assembly route
A rack that fits the final wall may still be difficult to bring into the garage or assemble there. Measure doorways, corridors, gates, stairs, and tight turns on the route. Review the packaged dimensions and assembly instructions for the exact product before ordering.
Also confirm that the proposed assembly area is large enough to work without blocking a required exit or placing parts in the path of a vehicle or garage door.
Step 8: Test the footprint before buying
Mark the full width and depth of the proposed shelving with painter's tape. Place empty boxes at the corners if a three-dimensional outline helps. Then run a normal-use test:

- Park the vehicle in its usual position.
- Open the vehicle doors that are normally used.
- Walk from the house to the garage exit.
- Carry a representative storage bin through the space.
- Open nearby doors, windows, cabinets, and appliances.
- Check the garage door only while keeping clear of moving components.
- Confirm that outlets, controls, and service areas remain accessible.
If any action feels cramped, change the planned footprint and test again. This simple tape test is more useful than relying on a wall measurement alone.
Garage shelving measurement worksheet
| Measurement | What to record | Your value |
|---|---|---|
| Usable wall width | Smallest width measured at floor, middle, and top | _____ |
| Maximum usable depth | Wall-to-obstruction distance minus required access space | _____ |
| Vertical limit | Floor to the lowest overhead obstruction | _____ |
| Largest stored item | Width × depth × height, including lid or handles | _____ |
| Vehicle clearance | Nearest vehicle point and open-door sweep | _____ |
| Delivery route | Narrowest doorway, turn, or stair section | _____ |
| Fixed obstacles | Location and dimensions of panels, pipes, windows, and controls | _____ |
Common measuring mistakes
Measuring the wall but not the working space
An empty wall does not show where a car door opens, where someone carries a box, or how the garage door moves. Test the room in use.
Using only one width or height measurement
Walls, floors, and ceilings can vary. Measure at several points and design around the smallest usable dimension.
Choosing shelf depth before measuring storage bins
A deeper rack may reduce access without helping if your containers are shallow. Measure the largest real item first.
Ignoring the route into the garage
Final dimensions do not prove that the packaged or partially assembled unit can pass through a doorway or turn.
Buying exactly to the maximum dimensions
A zero-tolerance fit leaves no practical room for assembly, adjustment, floor variation, or future access. Compare the exact product dimensions and instructions with your tested footprint.
What to do with your measurements
Once the worksheet is complete, use the numbers to compare shelf width, depth, and height. The garage shelving size guide explains how common dimensions suit different layouts, while the garage shelving planning guide covers fit, capacity, placement, and organisation.
Before installation, review whether the chosen unit needs to be secured and follow the product instructions. The guide to anchoring garage shelves provides additional decision points, but the instructions for the exact shelving and the wall or floor construction remain authoritative.
Frequently asked questions
Should I measure my garage in millimetres or inches?
Use the unit shown on the products you are comparing. Millimetres reduce rounding for metric products; inches are practical for products specified in imperial dimensions. Keep the original measurement when converting.
How do I measure shelf depth beside a parked car?
Measure from the wall to the nearest part of the vehicle, check the open-door area, and subtract the clear space needed for walking and access. Mark the proposed depth with tape and test it.
Do I measure with the garage door open or closed?
Check the space with the door stationary in both positions because tracks, panels, and hardware may occupy different parts of the garage. Keep away from moving components.
What if the garage wall is uneven?
Measure width at several heights and depth at both ends of the proposed footprint. Use the smallest practical dimension and confirm how the exact shelving feet or frame sit on the floor.
How much extra space should I leave around garage shelving?
There is no universal amount. Preserve the clearance required for people, vehicles, doors, equipment, service access, product assembly, and applicable local requirements. Test the footprint rather than relying on a generic number.
Should I measure storage bins before choosing shelving?
Yes. Record each large bin's outside width, depth, and height, including the lid and handles. Then compare those measurements with the product's usable shelf dimensions and spacing.
Choose shelving only after the footprint works
Accurate measurements turn a broad product search into a practical shortlist. When the taped footprint works with your vehicle, walking route, doors, utilities, storage bins, and overhead clearance, you can compare options with fewer surprises. Explore the current garage shelving collection using your completed worksheet, and verify the exact product dimensions, included components, load information, and installation instructions before ordering.
Need help choosing?
Find the right storage solution for your space.
Tell us about your room, workspace, quantity, or project requirements and our team will help you compare suitable options.